Thorough Guide to Repairing a Leaky Tap: Skilled Advice
Thorough Guide to Repairing a Leaky Tap: Skilled Advice
Blog Article
Each person maintains their own individual assumption in relation to How-To Guide On Fixing A Leaking Tap Or Faucet Step.
Introduction
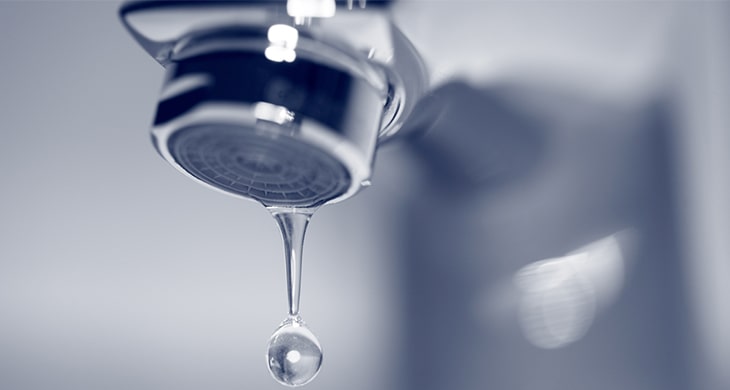
A dripping faucet is not just bothersome yet can likewise lose a substantial quantity of water and lead to boosted energy bills. In this detailed guide, we'll walk you via the process of fixing a dripping faucet, permitting you to save water and cash while maintaining your plumbing system.
Inspecting for Damages
Once you've revealed the shutoff assembly, inspect it for any kind of indicators of damage or wear. Common offenders of a leaking tap consist of worn-out washers, O-rings, or seals.
Replacing Faulty Elements
If you determine any broken or worn-out elements, carefully eliminate them utilizing a wrench or pliers and change them with brand-new ones. Be sure to utilize the correct size and sort of substitute components for your faucet.
Rebuilding the Tap
After replacing the damaged elements, thoroughly reassemble the tap in the reverse order of disassembly. Make sure that all components are correctly lined up and tightened to avoid future leakages.
Collecting Tools and Materials
Prior to you start, gather the required tools and materials for the repair. You'll typically need an adjustable wrench, screwdrivers, replacement washing machines or seals, plumber's tape, and a rag or towel to clean up any type of spills.
Shutting Down Water Supply
Find the shut-off shutoff for the impacted faucet and transform it clockwise to turn off the water supply. If you're unable to find the shut-off shutoff, you may need to shut off the primary water supply to your home.
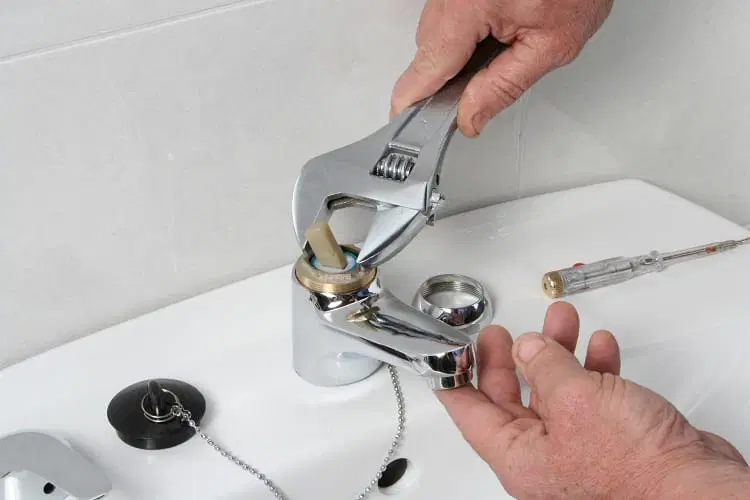
Disassembling the Tap
Utilize a screwdriver to get rid of the handle of the faucet, subjecting the internal elements. Relying on the type of tap, you might need to loosen a cap or collar to access the shutoff assembly.
Ensuring Appropriate Performance
After confirming that the tap is leak-free, examination its functionality by transforming it on and off a number of times. Make sure that the tap operates efficiently and without any unusual sounds or resistance.
Tidying up
Lastly, clean up any particles or spills from the repair service process and deal with any kind of old or damaged parts correctly. Leaving the workplace clean and tidy guarantees a specialist finish to your repair service.
Examining for Leaks
When the tap is reconstructed, transform the water supply back on and evaluate the tap for leakages. If you notice any leakages, double-check the connections and tighten them as needed.
Final thought
Taking care of a dripping faucet is a reasonably easy do it yourself task that can save you money on water expenses and prevent more damages to your plumbing system. By following this step-by-step overview, you can tackle the fixing with confidence and appreciate the advantages of a leak-free tap.
How-To Guide On Fixing A Leaking Tap Or Faucet Step-By-Step
Fixing a leaking tap or faucet can be a lot easier and quicker if you know what you’re doing. A leaking tap can be more than just an annoying sound. It is one of the severe plumbing issues that need an immediate fix. Because a leaking tap does not only waste water but can also be an indication of more significant plumbing issues.
So, fixing a dripping faucet or tap is a potentially costly problem. Fortunately, it’s not difficult to diagnose and repair the underlying issue. You can quickly and easily fix a dripping tap or faucet with the right tools and know-how.
In this guide, we’ll cover the common causes of a dripping tap and how to fix them, from a faulty washer to a leaking cartridge.
Simple steps on how to fix a leaking tap or faucet
Repairing a leaky faucet or tap can be a common task. You can quickly fix the leaking faucet or tap with the right tools and techniques. You can effectively stop the leak and save time, money, and frustration. Hence, it is easy to fix a leaking tap or faucet.
Before you even start working on a leaking tap, turn off the water supply to avoid any accidents while fixing the tap. Also, it is vital to gather all the essential items and tools to begin the proper repair process. The correct technique is also necessary to repair dripping taps.
Follow these step-by-step guides to fix the leaking taps or showers and save a good amount of water. If you follow every instruction correctly, it might take up to some minutes, and you will not need help from any plumber.
Step-by-step guide to fixing a leaking tap or faucet:
Use a spanner or Allen key to remove the cover and handle of the tap. By doing so, you will identify the source of the leak. 2. You must then loosen the screw and, if applicable, remove the handle. For the taps having a metallic cover, you can either unscrew them by hand or use a powered wrench to get them out of their recess. 3. Detach the tap bonnet, and remove the headgear. Examine the internal parts of the tap, including the body washer, O-ring, and jumper valve. Mostly, the jumper valve is a common source of leaks in taps. Remove it to inspect it for damage etc. 4. By replacing the body washer, jumper valve, and O-ring, you are often at the right spot in fixing the leaky tap. Further, you can use a lubricant on the spindle and valve to ensure proper sealing and smooth operation. However, a suitable lubricant compatible with the tapping material is also essential. 5. Carefully tighten the nuts on the spindle and bonnet using the spanner. However, be careful not to tighten them over, as doing so can damage the tap components. Also, it will become difficult to remove in the future too. So, make sure you tighten them to get a secure seal. 6. Finally, you can reassemble the tap. Make sure to refit the bonnet and spindle. 7. Make sure there are no leaks by turning on the water supply again. 8. Reseating (if necessary): If the tap is still leaking, you may need to reseat the tap, which means resurfacing the tap body so the washer can achieve the tightest seal. You’ll need to buy a reseating kit for this. How to fix a leaking shower tap or faucet
Shut off the water supply at the garden variety tap outside the home with a metre attached. 2. To avoid unpleasant surprises, take preventive measures, such as covering the shower drain before beginning. 3. Unscrew the shower tap’s cap and lid to gain access. 4. Use a multi-tap spanner or shift lever to remove the tap assembly’s cap and the component. 5. Visually inspect and replace the red body washer at the base of the tap bonnet, and replace the O-ring near the tap spindle if necessary. Lubricate the area with oil before reattaching. 6. It is vital to replace the tap valve if you notice any leaks in the wall seat. 7. To fix a recurring leak in the shower, use a reseater tool to grind away the tap seat. 8. Reassemble and tighten assembly, put flange and handle back, turn mains on, and test shower. Preventive Maintenance Tips for Taps and Faucets
. It is essential to regularly check the taps and shower heads for signs of wear and tear. 2. You must replace washers or O-rings when they show signs of degradation to prevent leaks. 3. Ensure the proper installation of taps and showerheads to prevent seepage around the base. 4. Make sure you turn off the water supply valves. Also, drain the taps and shower heads regularly to avoid corrosion and mineral buildup that cause leaks over time. 5. Be mindful of how tightly you grip taps and shower heads; excessive force can harm the internal components and lead to leaks. 6. It is great to rely on water-saving aerators in taps. They are best at hampering the water flow and preventing leaks because of elevated pressure. 7. Make sure to clean mineral deposits from shower heads regularly. It helps maintain proper water flow and prevents clogs that lead to leaks. So, you can follow these simple preventive maintenance steps to extend the life of taps and shower heads. Likewise, it will also help you to prevent costly repairs in the future. https://zebraplumbing.com.au/tap/how-to-guide-on-fixing-a-leaking-tap-or-faucet-step-by-step/
I was shown that report about How-To Guide On Fixing A Leaking Tap Or Faucet Step through a good friend on our other web address. So long as you enjoyed our blog post plz don't forget to share it. Thank you so much for going through it.
Browse Website Report this page